Introduction
One of the biggest advantages of FPGAs is that we can change it (reprogram it) many times. In most cases, we do it using either an onboard programmer (many development boards have them) or an external one. The most popular programmer is Platform Cable USB II from Xilinx (a lot of clones are available) and JTAG-HS2 (HS3) Programming Cable from Digilent. The price varies from 59 to 225 USD. But these programmers require to be connected directly to PC with programming software. And what if the board is in a place hard to get?
Remote access
Well, we can program it remotely – with programmer attached to the ethernet via cable. An example of such a programmer is SmartLynq Data Cable. So as far as we have either a PC connected via cable or network access then we can do things remotely. Its main disadvantage for some might be the price – 495 USD.
Other solutions?
In some designs, we needed to have remote access to FPGA on moving device – in such case having a cable is not an option – the cable could be stuck or be cut. Having a laptop with a programmer attached to it wasn’t ok either – a necessity for separate PC to have a wireless remote desktop and limited time on batteries (usually around 3 hours) wasn’t the best option. That’s how we decided to make a programmer with remote access via WiFi and Ethernet that can work on attached power bank for many hours, be small and also at a reasonable cost.
JTAG Pi
That way we’ve made a programmer based on Raspberry Pi 3 B+. We choose that model due to the Wifi module onboard + 1Gbit Ethernet port. Also, it’s very popular – many engineers and hobbyists already have them on their desks. With our board attached to it and software app running on Pi we have a cheap remote programmer.
Programming
To present you possibilities we will do a simple programming of MiniZED using JTAG Pi.
First we run Xilinx Vivado. Then from the main menuwe choose Open Hardware Manager.

In Hardware Manager we will have Hardware tab where we open target using the connector icon.
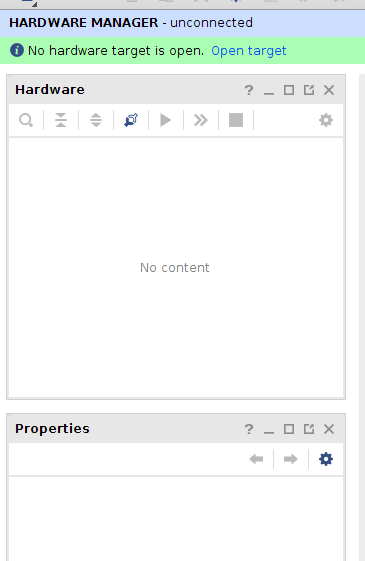
After that we will be connected to localhost hw_server.

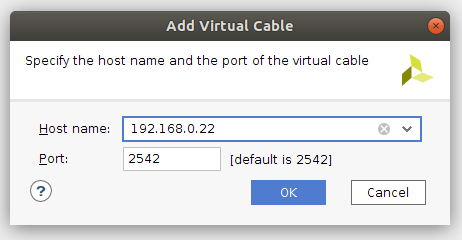
Now right-click on localhost and choose Add Xilinx Virtual Cable (XVC). Now in pop-up window enter your Raspberry Pi IP (either Wifi or Ethernet network – depends on which you use).
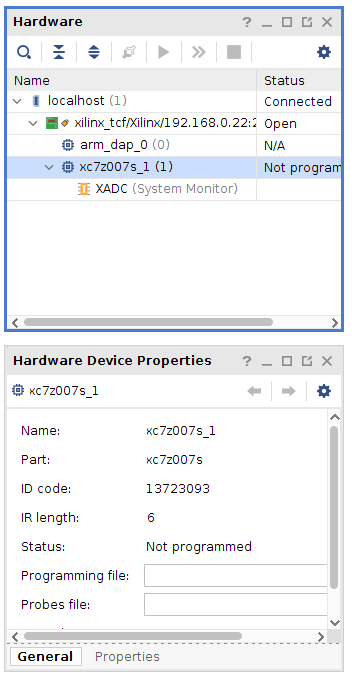
After connecting you will see some recognized devices – in our case we see xc7z007s (Zynq 7007s – MiniZED).
Now we can pick bit file for FPGA and program it remotely.

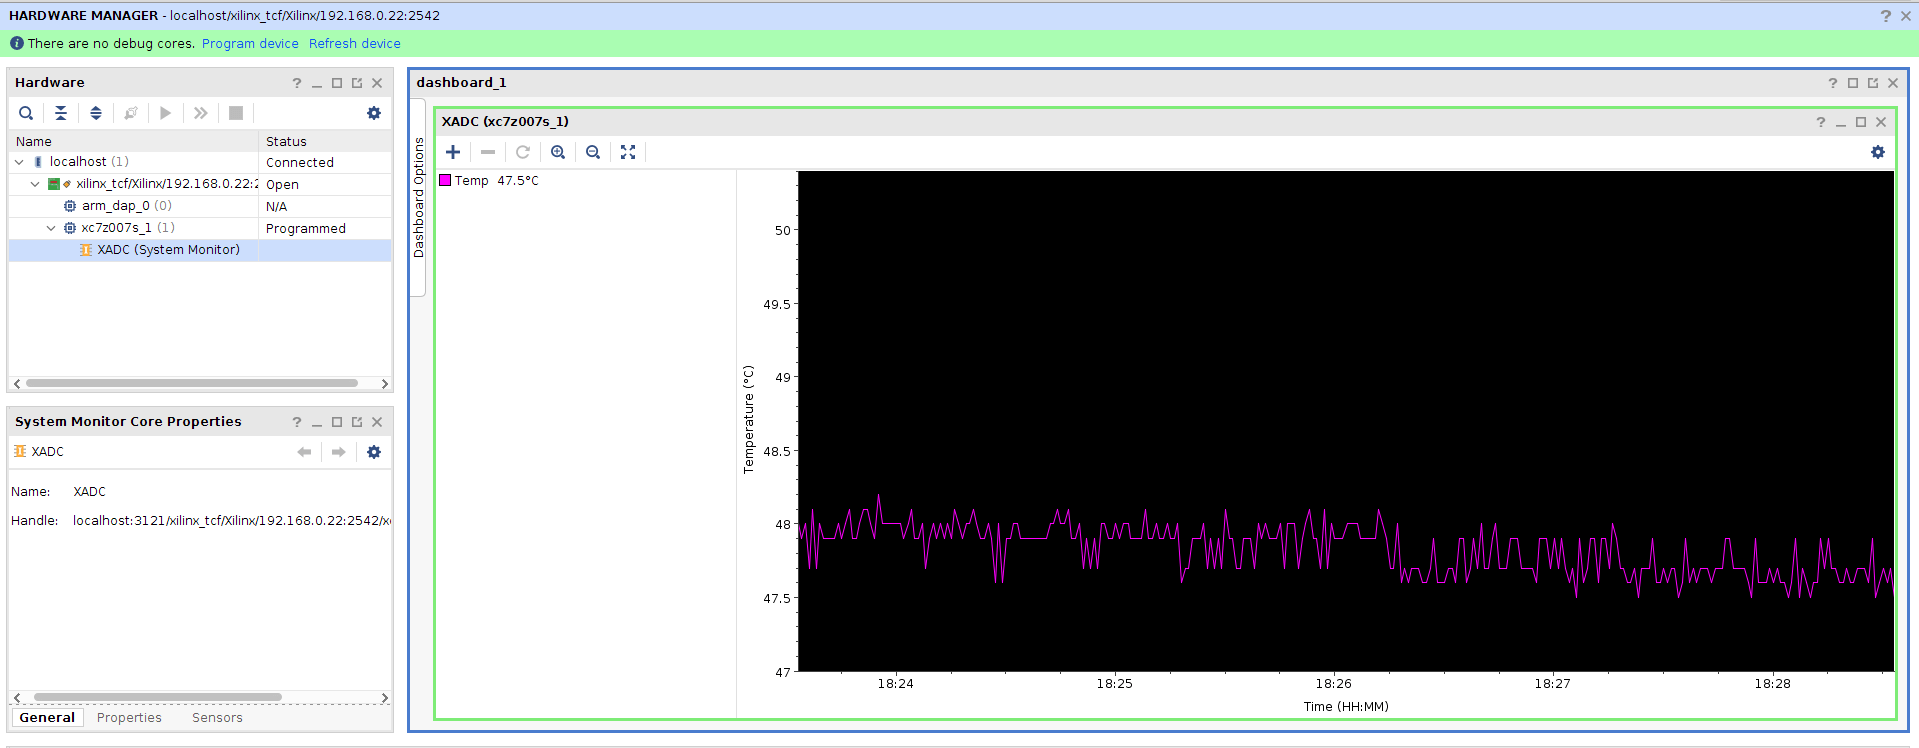
As you can see it took 5 seconds to program MiniZed (bitstream length for Zynq 7z007s is ~17Mb). You can also read XADC values or do debugging if the bitstream has debug cores in it.